Given all the time spent on the input week (4-5 steps to get to the final one… much more than the expected week!), I decided to skip some steps for the output and produce directly the one I will need or the final project. After all you learn by trying and failing and I had a lot of that, hopefully I can put all the learning to a good use and speed up the process (deadlines are getting closer!!!) My output will be a RGB led for the optic fiber, so I am starting from the example of Neil which is pretty close to what I need. I will have to add the I2C connector (this board will be the slave) and the link it to the MOSI of the AT45 to drive the led on/off.
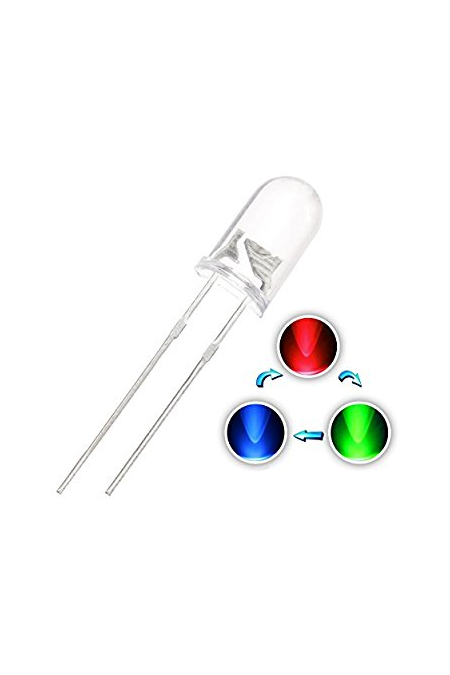
I need the following components: The RGB led with the 3 resistors (2 x 1kΩ for red and green and 500Ω for the blue) The ATtiny45 The pull-up 10KΩ resistor for the RESET pin and the 10 uF capacitor for the bypass The 6pin connector for the ISP (so far same as the Neil board) The 4 pin connector for power and I/O (I2C) I will again need a 0Ω resistor (a bridge) to be able to route all path on one side of the board.
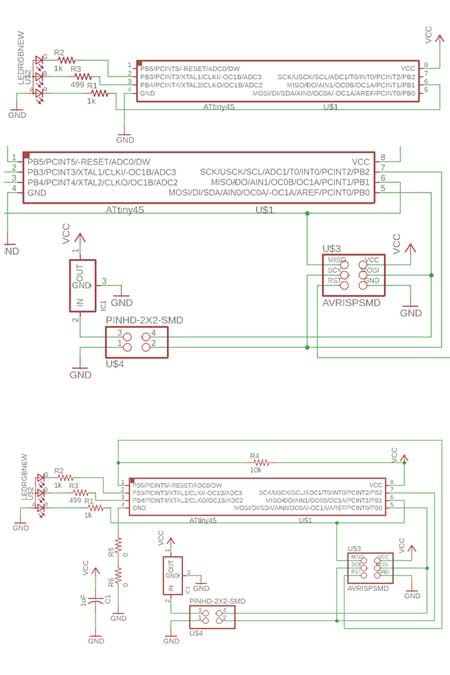
I started with my output, the RGB led. I slightly changed the connections as in Neil board since I will need to keep MOSI free for communication, I am using PB1, PB3 and PB4 for the LEDs and I connected the AT45 to them and to VCC/ground Then I moved on the communication side with the I2C 4 pin connector and the ISP. I added to the power line (from the I2C connector) the 5V regulator as in Neil board Added the capacitor and the resistor on the reset and here was I…
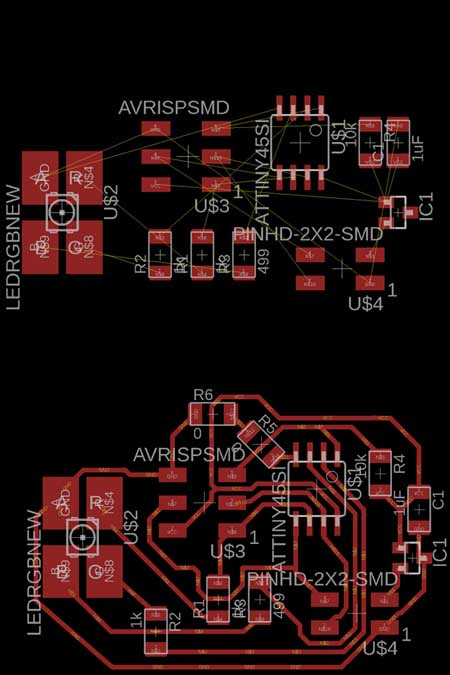
I used Neil’s board as a starting point for placing the components, I had a larger RGB (not an SMD) so I placed the connectors further out to one end and the power and regulator to the opposite side. I had to rotate things around until I was happy with the airways The auto routing missed quite some connections (no VCC to the AT45 :D )… again I had to manually adjust a bit Again, as for the input, I was not able to close all connection, I ended up with an ungrounded AT45… I decided to put a 0Ω resistor as a bridge, but I had to cross 2 lines (even if I had clearance on EAGLE I know our milling machine is not able to do that I ended up using 2 bridges and moving a bit around the capacitor
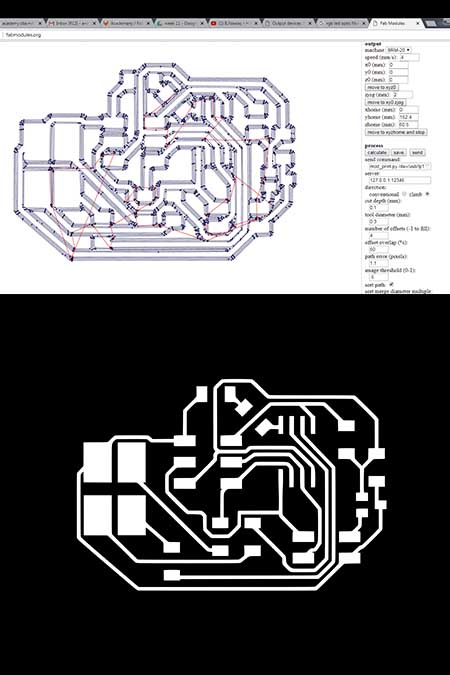
Something that i forgot to mention is the preparation of the milling and the fabmodule.org software which prepares the png traces and outlines for milling them in the roland milling mashine. More information about this week can be found in the electronics production week electronics production week.
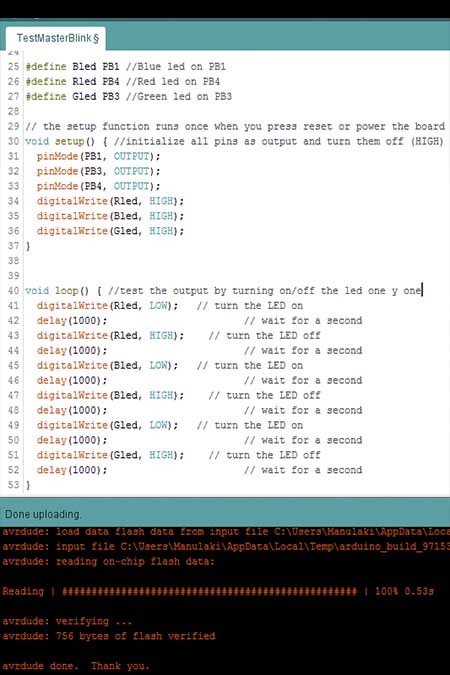
The hardest part for me once again it was the coding part. Since i am in the learninf procedure i always prefer to take Neil's code or a code from internet that worked from someone else, study it and modify it according to my need. In this case i took inspiration from an previous fab academy student and i modified the code , the pins, the change of colors, and the delays according to my taste.
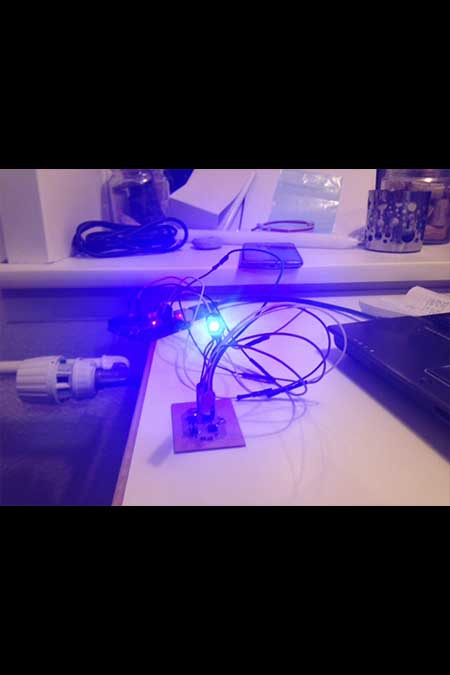
Yes!!!the code was succesfully updated and the rgb led started to fill the room with colors. Here is my VIDEO for this week
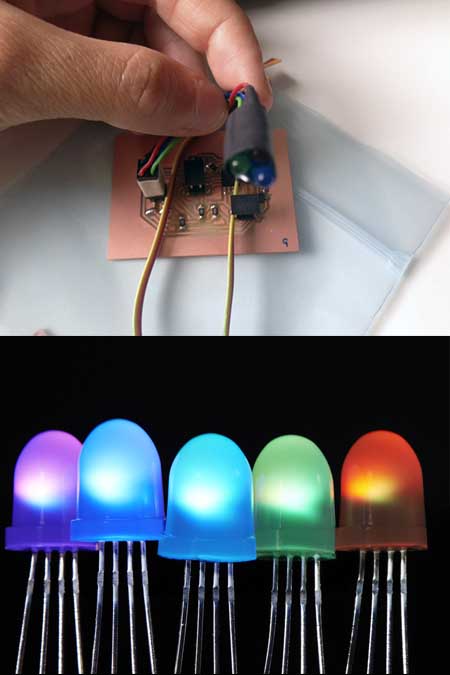
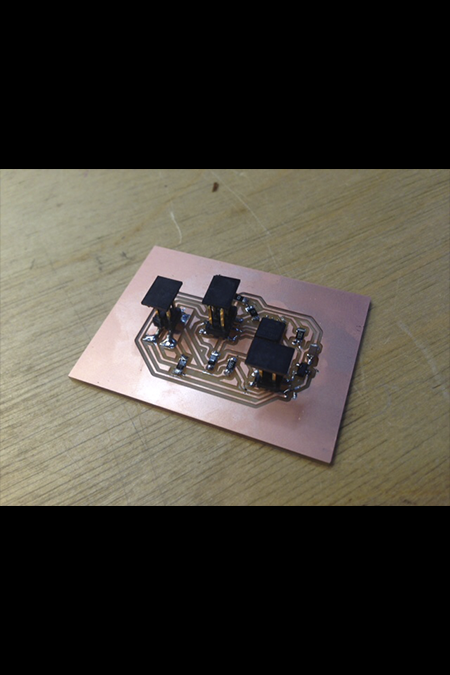
As easily can be noticed in the pictures and videos my rgb led does not look like a normal rgb led that someone can find in the fab lab. Unfortynatelly we were out of this kind of leds but a good friend and maker made one for me by cpmbining three different leds (red, green, blue) into one body. He used female cabels and pins and he integrated into my board. As you can see it worked and i really thank him for his help. Is a proof that a maker should always look for a solution ;-)
The conclusion of this week is that output should be studied and worked together with input devices in order to understand the procedure. The estimated time spended on my input device (phototransistor) was 1 month!! and the estimated time for my Rgb led was 2 days ;-)